Building custom decking can be one of the most rewarding DIY projects for any homeowner. There’s nothing quite like stepping out onto a deck that you’ve built with your own hands, knowing that it perfectly suits your outdoor space. However, while the end result is satisfying, the process can be challenging, particularly if you’re not well-prepared. Here’s how I built my custom decking, the hurdles I encountered, and how you can do it too—without injuring yourself!
Step One: Gathering The Right Tools
Before you start, it’s important to have the right tools on hand. The basics include a tape measure, spirit level, power drill, circular saw, and a hammer. A post-hole digger and a sledgehammer will also come in handy, especially when setting posts. Don’t forget your safety gear—goggles, gloves, and knee pads are non-negotiable.
One mistake I made early on was underestimating the importance of a good quality spirit level. Accurate levelling is essential, especially when setting the fall on your decking to ensure water drains away from your house. Trust me, investing in quality tools will save you a lot of hassle down the line.
Step Two: Prioritising Decking Safety
Safety should always be your top priority, particularly in a project that involves heavy lifting, power tools, and potentially hazardous materials. Before you even begin, make sure your workspace is clear of any obstacles, and that you’re familiar with all the tools you’ll be using.
One key safety tip is to work with a buddy. Not only does it make the job easier, but it’s also much safer to have someone else around in case anything goes wrong. I made the mistake of trying to tackle too much on my own, which led to unnecessary strain and a few near misses.
Step Three: The Steps From The Ground Up
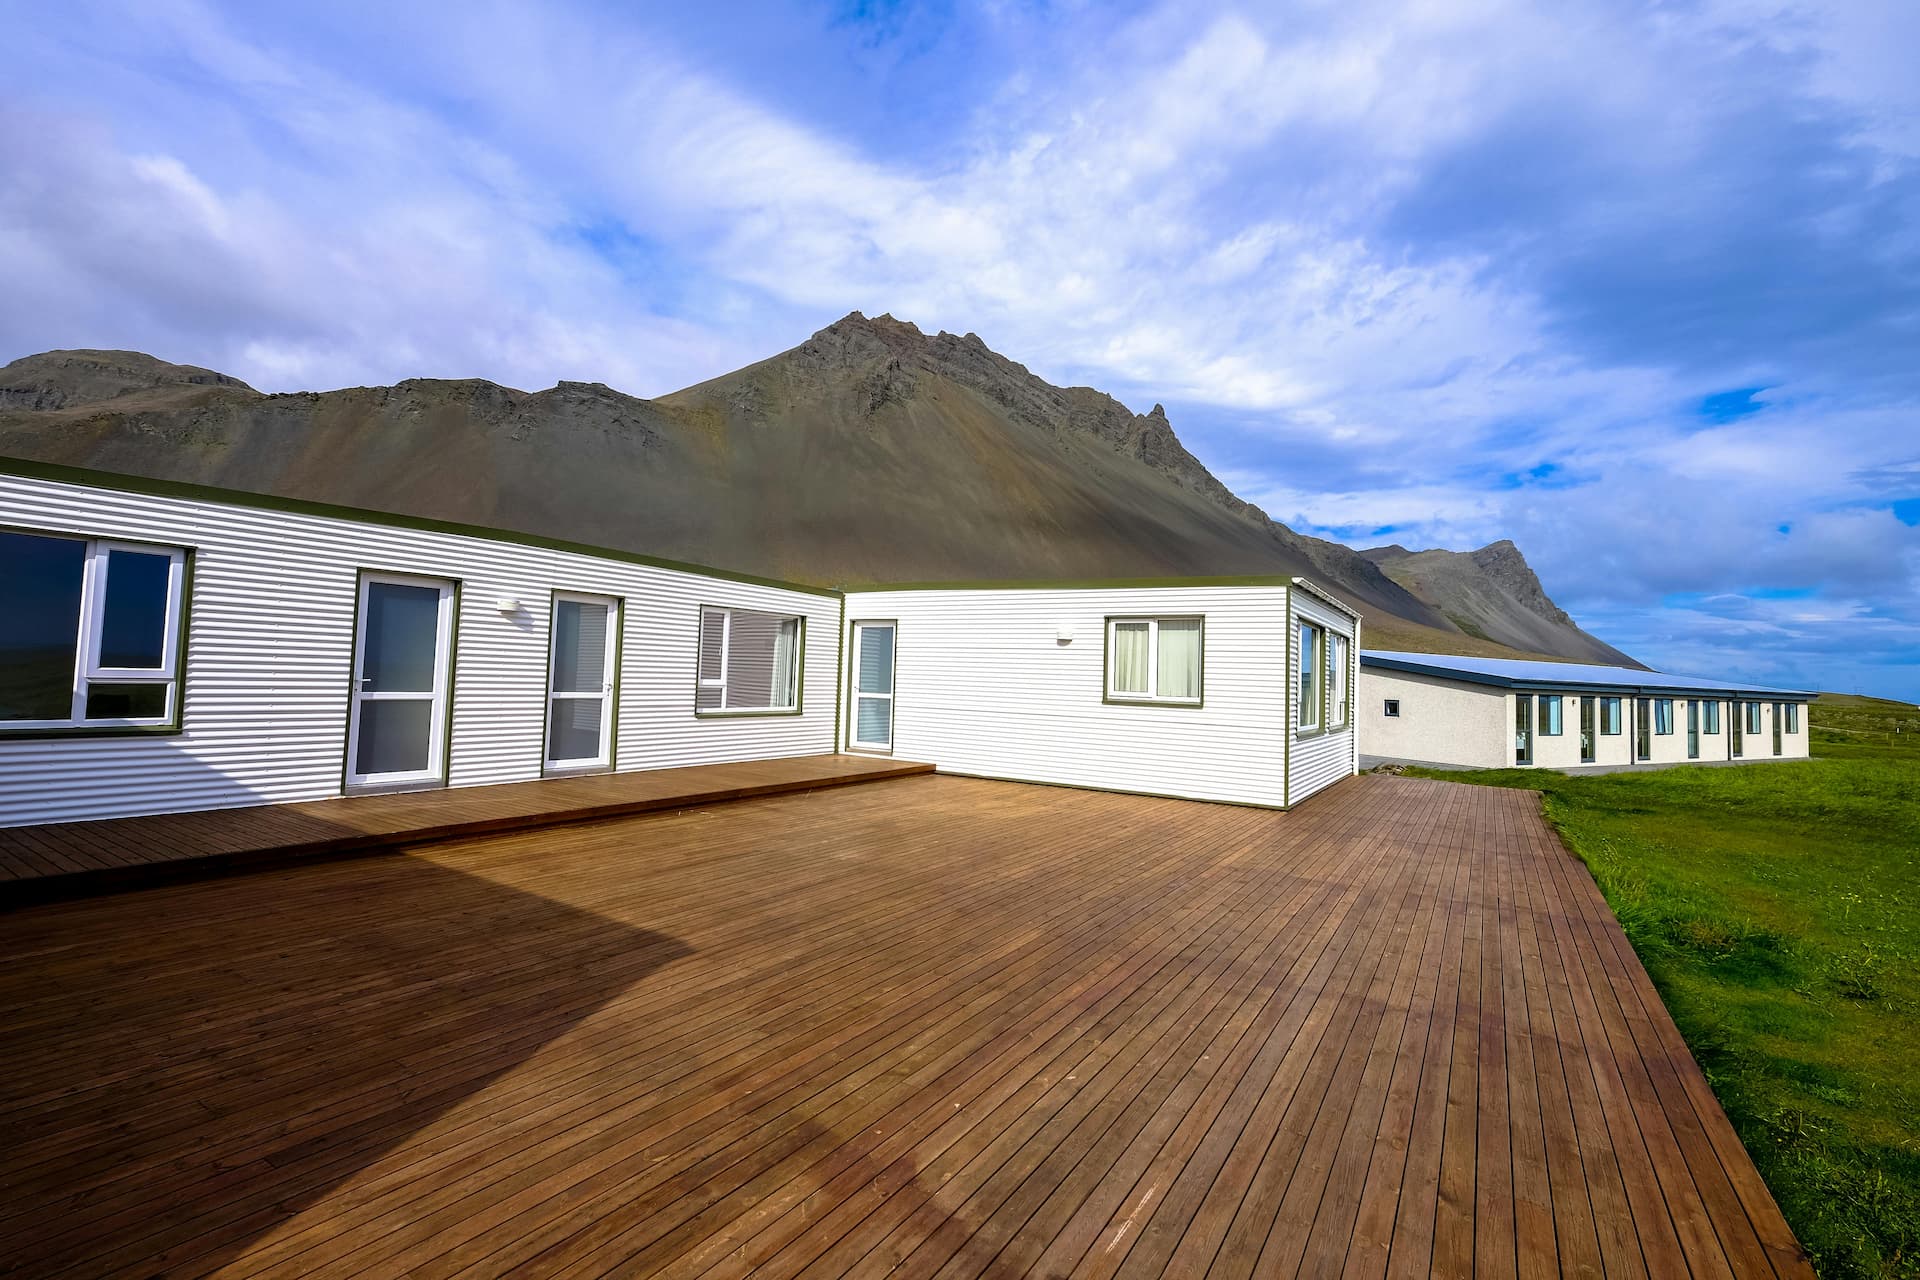
Building custom decking is all about getting the basics right from the start. The first step is to prepare the ground. Clear the area of any grass, rocks, or debris, and ensure the ground is level. I found that laying a weed-proof membrane before placing the decking frame helped to prevent any unwanted greenery from sprouting up between the boards later on.
Next comes the most critical part—setting the posts. This is where I hit my first major challenge. Getting the post heights and alignment right is crucial for a level deck. I learned the hard way that a few millimetres can make a significant difference. Use a string line to ensure your posts are aligned and double-check the height before concreting them in place.
Step Four: Choosing The Right Decking Timber
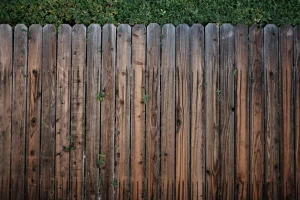
When it comes to choosing timber, quality matters. Opt for pressure-treated wood that’s designed to resist rot and insect damage. I chose treated pine, which is a cost-effective option and readily available. However, hardwoods like oak or cedar are excellent choices if your budget allows. They are more durable and can add a touch of luxury to your decking.
It’s also essential to consider the thickness of your boards. Thicker boards are less likely to warp and provide a sturdier surface. I opted for 28mm thick boards, which provided a good balance between strength and cost.
Step Five: The Right Fixings
The fixings you choose are just as important as the timber itself. Galvanised screws are a must to prevent rusting, and they should be long enough to secure the boards firmly to the joists. I initially used nails, thinking they would be quicker, but soon realised that screws offer a much stronger hold and are easier to remove if you need to replace a board in the future.
Joist hangers and corner brackets are also essential for securing the framework and ensuring the structure is sturdy. Don’t skimp on fixings—using the right ones will extend the life of your decking significantly.
Noteworthy Tip & Reflection
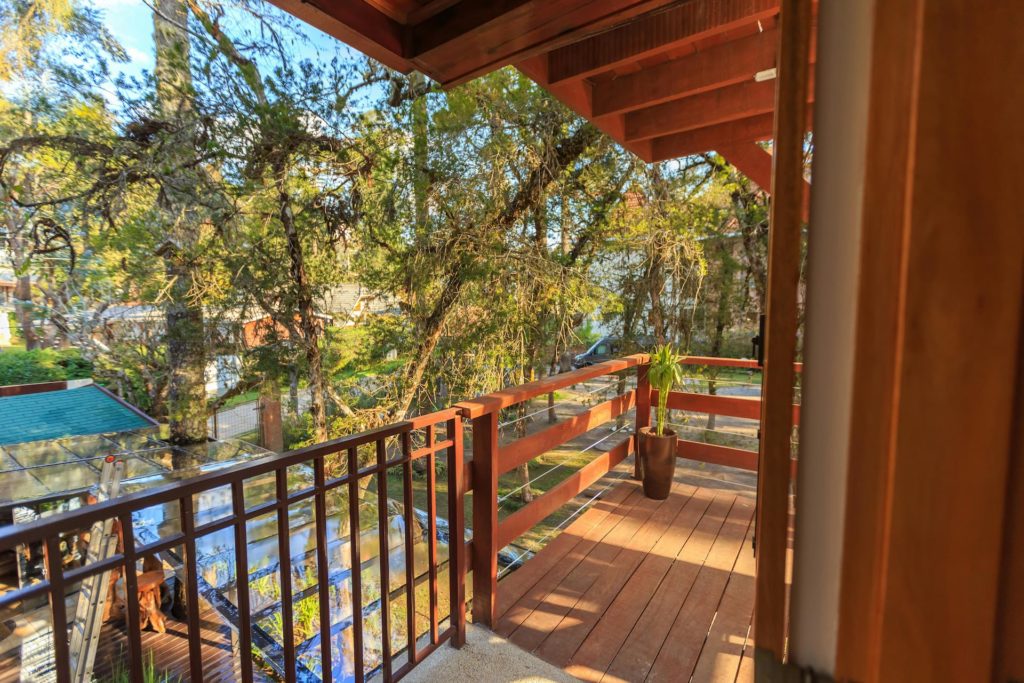
Once your decking is built, the final step is to finish it with a protective coating. I opted for a clear wood preservative, followed by a couple of coats of decking oil. This not only enhances the wood’s natural beauty but also protects it from the elements. Regular maintenance, such as reapplying the oil annually, will keep your decking looking great for years to come.
Challenges
One of the biggest challenges I faced was ensuring the deck had a proper fall so that water wouldn’t pool on the surface. This required meticulous attention to detail during the levelling process. I also struggled with spacing the joists correctly. Too far apart, and the decking boards can feel springy; too close, and you’re wasting timber.
Despite these challenges, the success of finally getting everything level and secure was incredibly rewarding. Each time I sit on my deck, I’m reminded of the hard work that went into making it just right.
Once your decking is built, the final step is to finish it with a protective coating. I opted for a clear wood preservative, followed by a couple of coats of decking oil. This not only enhances the wood’s natural beauty but also protects it from the elements. Regular maintenance, such as reapplying the oil annually, will keep your decking looking great for years to come.