I’m writing this article on natural stone paving techniques to share my personal experiences, practical advice, and essential techniques to help you lay like a pro. We’ll cover everything from choosing the right tools to common mistakes and safety tips. By the end of this article, you’ll be well-prepared to tackle your own paving project.
Choosing Quality Stone & Essential Tools
Before diving into the process, it’s important to select quality stone for your paving. The durability and appearance of natural stone can vary, so take your time to choose the right type for your project. Whether it’s sandstone, limestone, or granite, ensure the stone complements the overall design of your garden or patio.
Once you’ve selected your stone, gather the essential tools:
- Cement Mixer: Ideal for mixing mortar to the right consistency.
- Shovel: Necessary for mixing and spreading mortar.
- Trowel: Perfect for smoothing and shaping the mortar.
- Stringline: Essential for setting out consistent heights and spacing.
- Level: Ensures your paving is even and level.
- Lump Hammer and Chisel: Useful for shaping stones, though optional.
- Petrol Disc Cutter: Speeds up the cutting process for a more efficient workflow.
- Laser Level: Provides precision when setting out your paving heights.
Safety First: Lifting & Handling Paving Stones
Lifting heavy stones is one of the most physically demanding aspects of natural stone paving. During my project, I learned this the hard way after throwing my back out from improper lifting techniques. To avoid injury, always lift with your legs, not your back, and never attempt to move a stone that’s too heavy for you to handle on your own. If necessary, ask for help or use a wheelbarrow to transport heavier stones.
Additionally, ensure you’re wearing appropriate safety gear, such as gloves and steel-toed boots, to protect yourself from sharp edges and falling objects.
Setting Out Heights & Spacing With String Lines
One of the most important steps in natural stone paving is setting out the heights and spacing. This can make the difference between a professional-looking finish and a project that looks amateurish.
Start by marking out the area with stringlines to establish the correct heights. A laser level can be particularly useful here, as it ensures precision across the entire area. Once your heights are set, use the stringline to maintain consistent spacing between the stones. This will help you achieve a neat and uniform look.
Mixing Mortar: Getting The Consistency Right
Learning to mix mortar to the right consistency is key to the success of your paving project. Too dry, and it won’t hold the stones in place; too wet, and it can cause the stones to sink or shift over time.
I discovered that the ideal mortar consistency should be similar to that of thick peanut butter. It should hold its shape when trowelled, but still be workable enough to spread easily. Using a cement mixer can help you achieve this consistency, saving you time and effort compared to mixing by hand.
Common Paving Mistakes & How To Avoid Them
Throughout my project, I encountered several pitfalls that could have been avoided with better planning. Here are a few common mistakes to watch out for:
- Rushing The Job: It’s tempting to try and complete the project quickly, but this often leads to mistakes. Take your time to ensure each stone is laid correctly.
- Inconsistent Spacing: Without careful attention to spacing, your paving can look uneven and unprofessional. Use your stringline and level frequently to check your work.
- Poor Mortar Mix: As mentioned earlier, getting the mortar consistency right is crucial. Practice mixing small batches until you’re confident in achieving the correct texture.
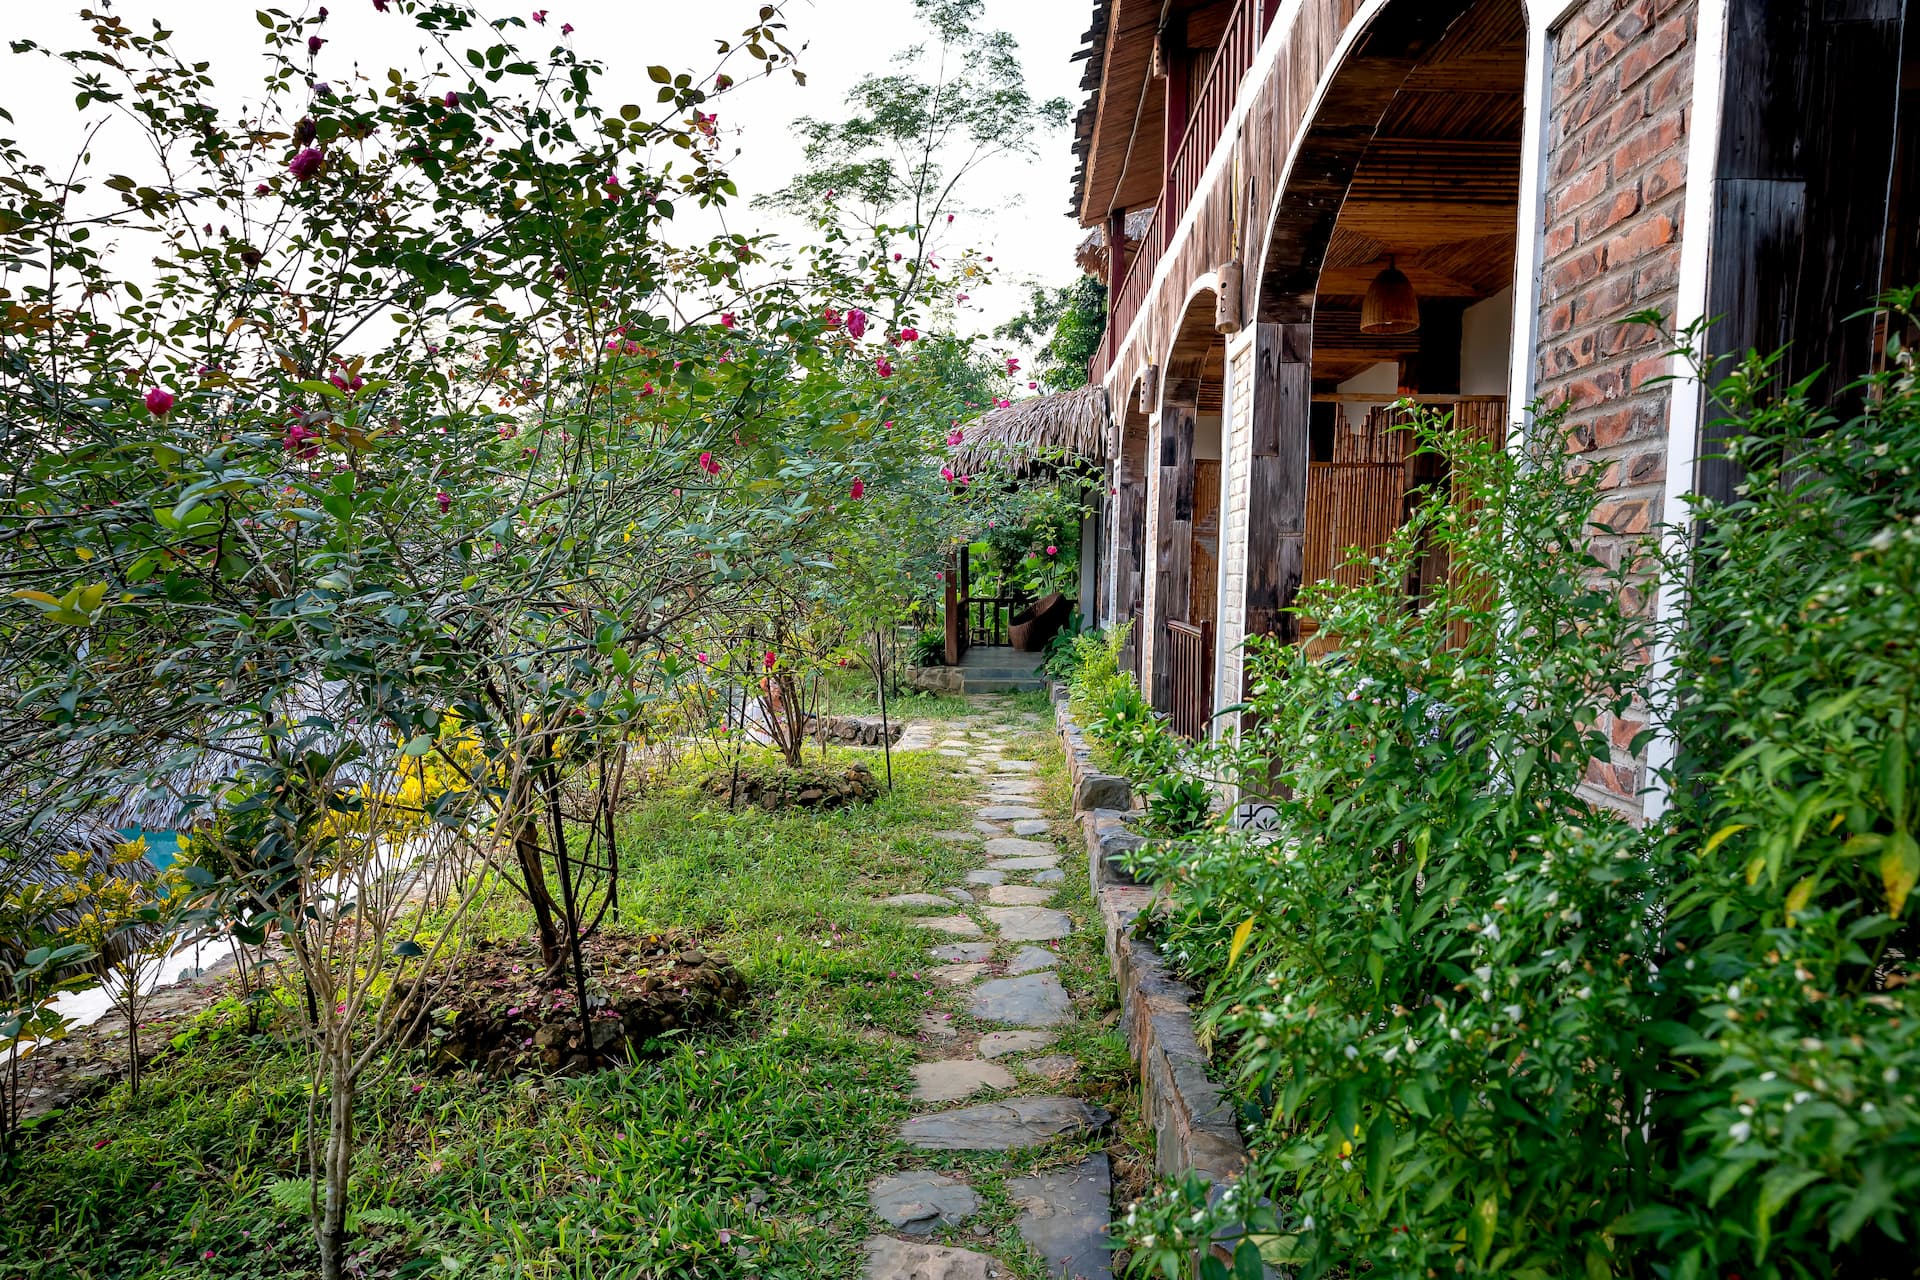
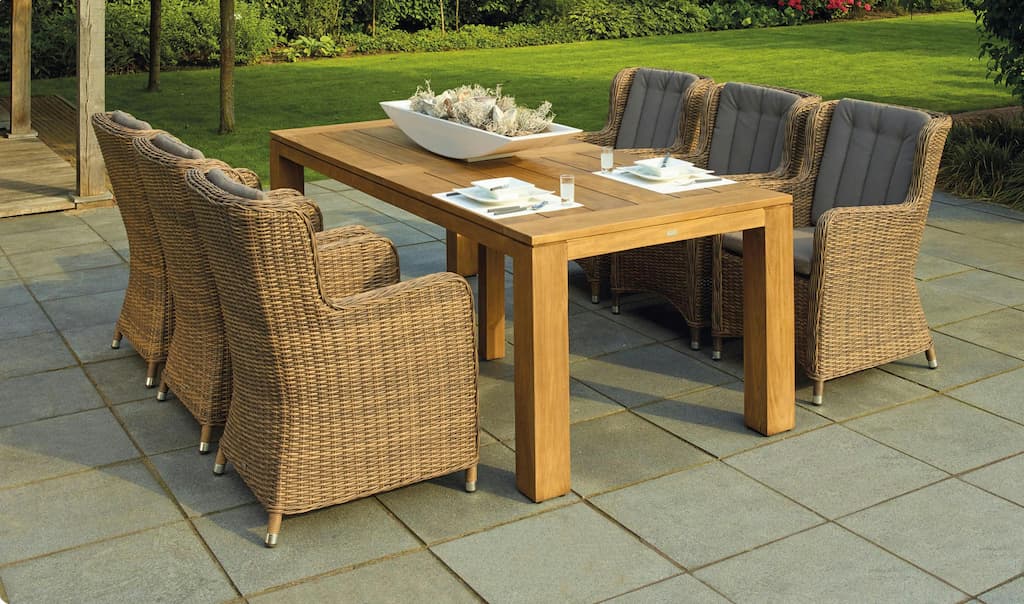
The Joy Of A Finished Project
Despite the challenges, laying natural stone paving is incredibly rewarding. I loved the way the contrast of stone, timber, and plants came together to create a beautiful outdoor space. Seeing the finished project, with all the stones perfectly aligned and spaced, made the effort well worth it.
If you’re considering a natural stone paving project, go for it! With the right tools, proper preparation, and a bit of patience, you can transform your outdoor space into something truly special. Just remember to take your time, focus on the details, and enjoy the process—after all, there’s nothing quite like the satisfaction of completing a DIY project with your own two hands.